Introduction
For this project, we were tasked with re-designing an everyday project: a bench. We were given some parameters and recommendations but after that the rest of the decisions were up to us. It was recommended that the bench have little to no 90 degree angles or straight lines, along with backpack storage. We were also told to have the bench not impede the view of the Innovation Center.
As for actually designing the prototype, we used one of many 3D modeling softwares, in my case Fusion 360. After that, we printed our benches at max scale on one of the MakerBot printers.
As for actually designing the prototype, we used one of many 3D modeling softwares, in my case Fusion 360. After that, we printed our benches at max scale on one of the MakerBot printers.
Preliminary Research and Design
|
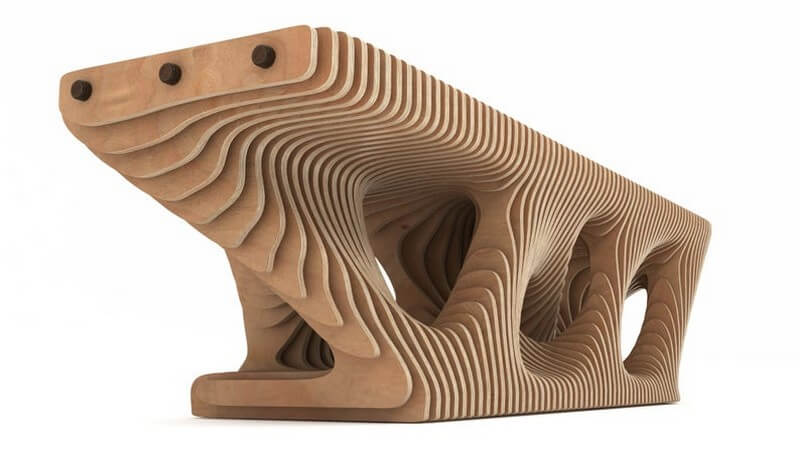
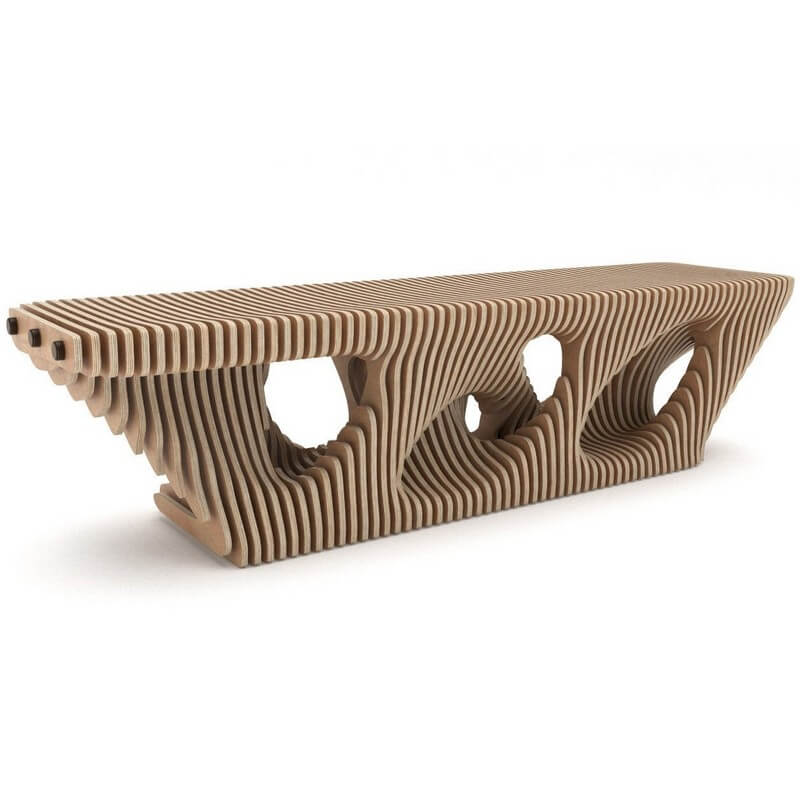
These are some examples of benches I was sort of basing my design off of. I knew I wanted my bench to look organic, but still simple and neat. I think in the end I struck a good balance of both.
|
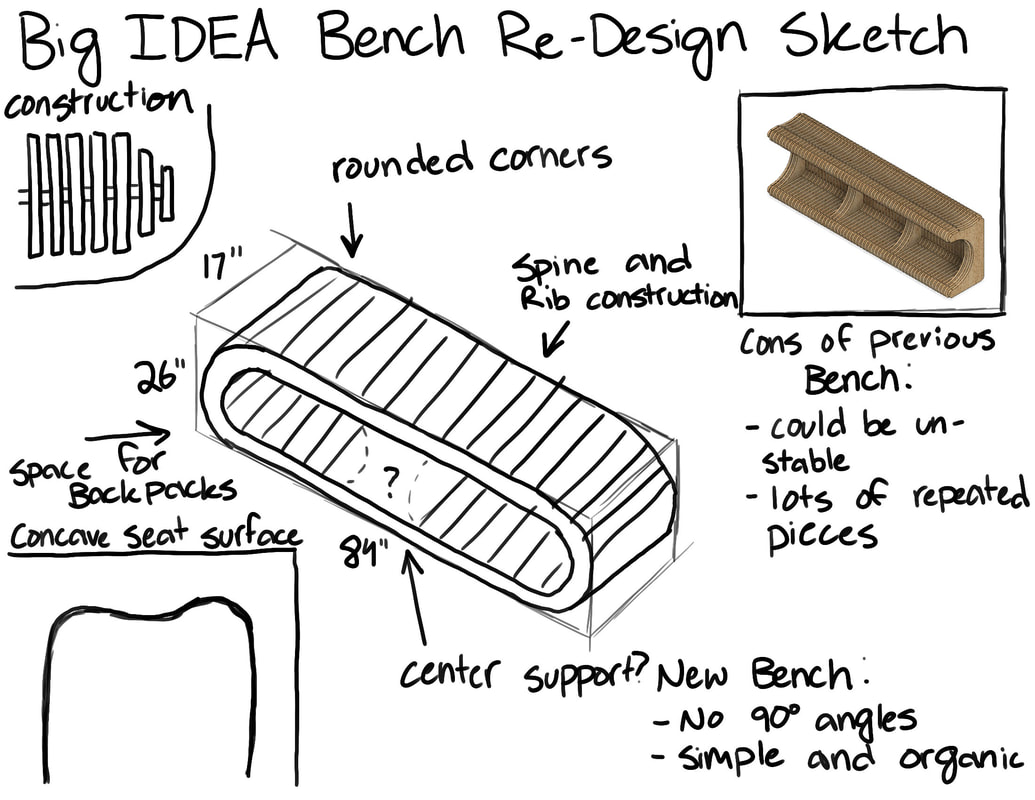
Here is my drawing and pre-work, which was done after the creation of the first iteration. With the first iteration (pictured below), I really just wanted to get my ideas down and make it in Fusion. After that, I got more into the design and how this bench would actually function. I wanted the next versions to be simple but organic, which I think I achieved well.
Iterations
Version 1
This was my initial mock-up of what I wanted my bench prototype to look like. I decided it was too boxy and the design would likely be unstable. Some pros of this design is that there would be plenty of space for storage of backpacks. Also, the top is con-caved slightly for greater comfort, a feature which carried on to my final design. |
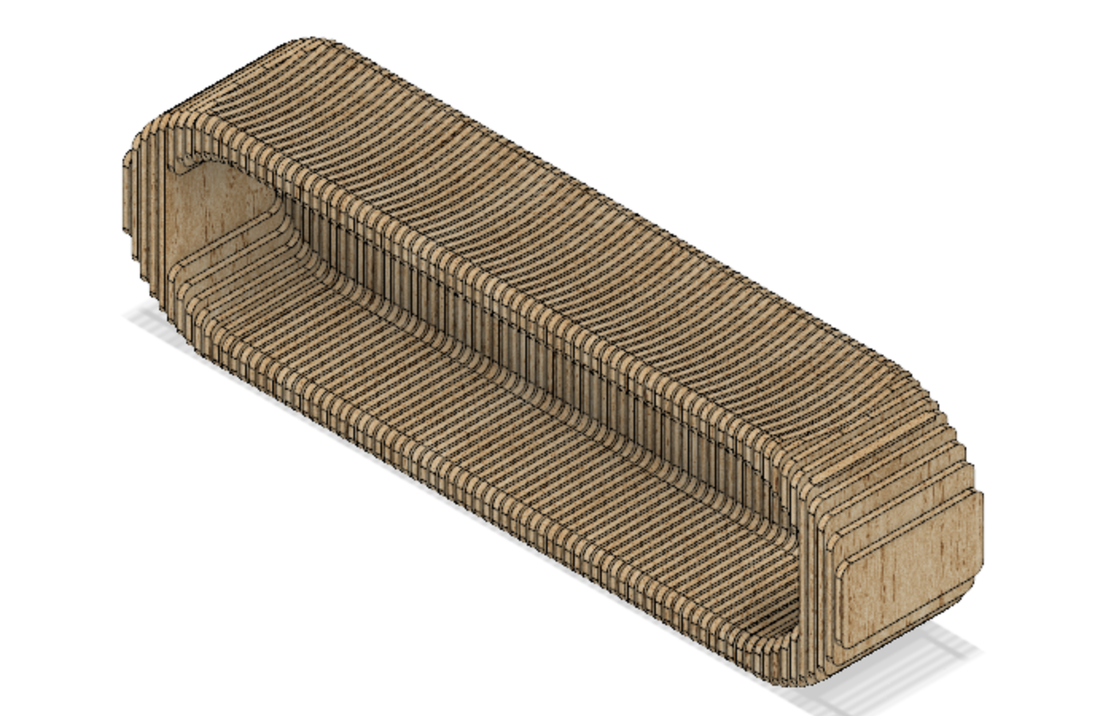
Version 2
This version, however pretty different, was pretty close to my final version. I decided to take a much more rounded and circular approach, there are no 90 degree angles (as required in the directions). But with this design, I still had worries about the stability of the design, so I decided to make one more. This design would have had the greatest space for back packs. |
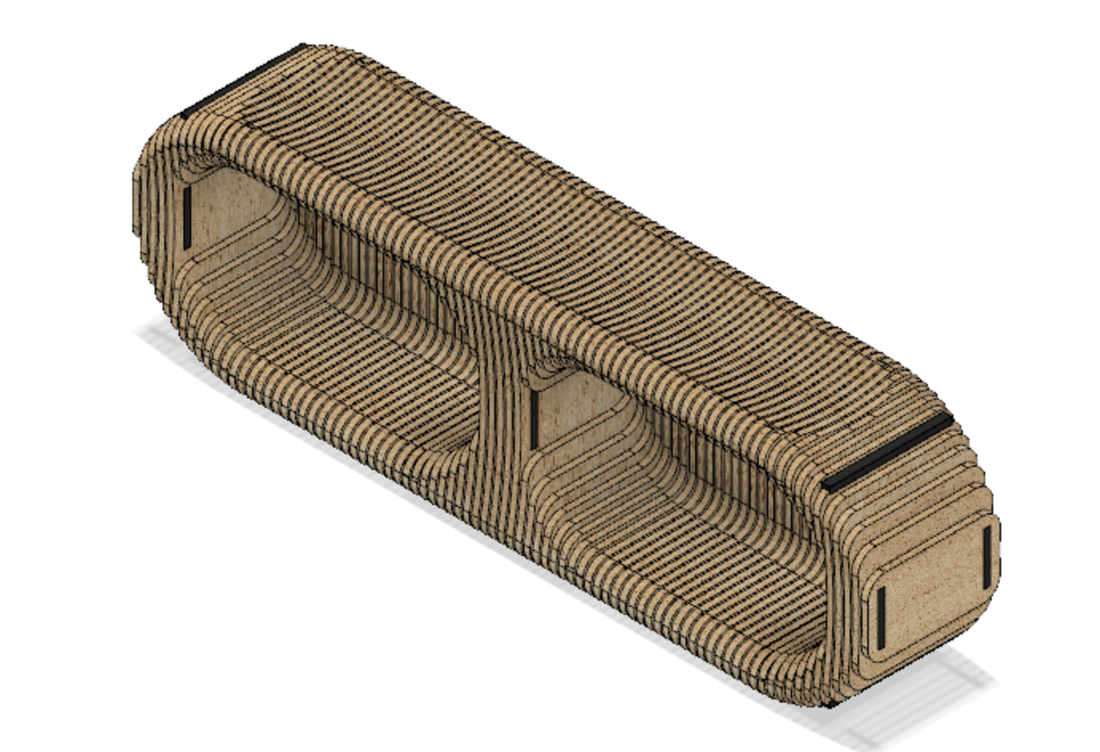
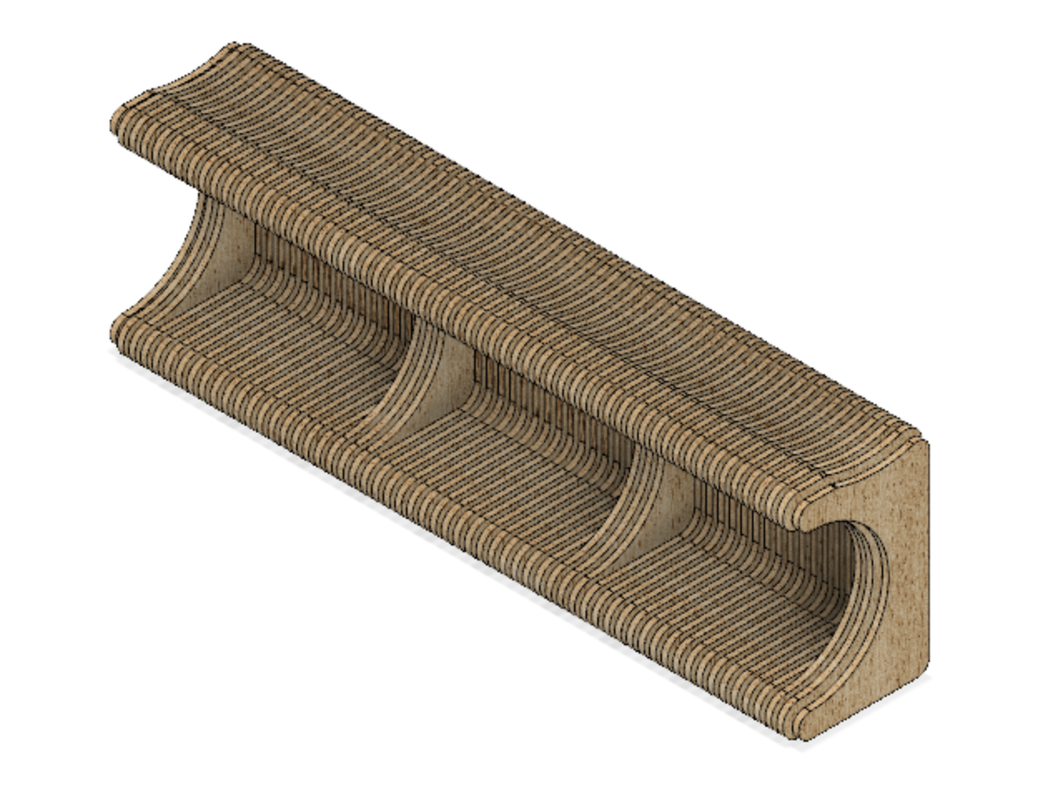
Version 3
My final prototype is very close to my previous version. However, there is now a support structure going through the center that should make it more stable, and now it is more ascetically pleasing in my opinion. There are plenty of "spines" for the 85 "ribs" and there are two large storage spaces for backpacks. There are also round profiles for design and comfort purposes. |
Fabrication of the Final Prototype
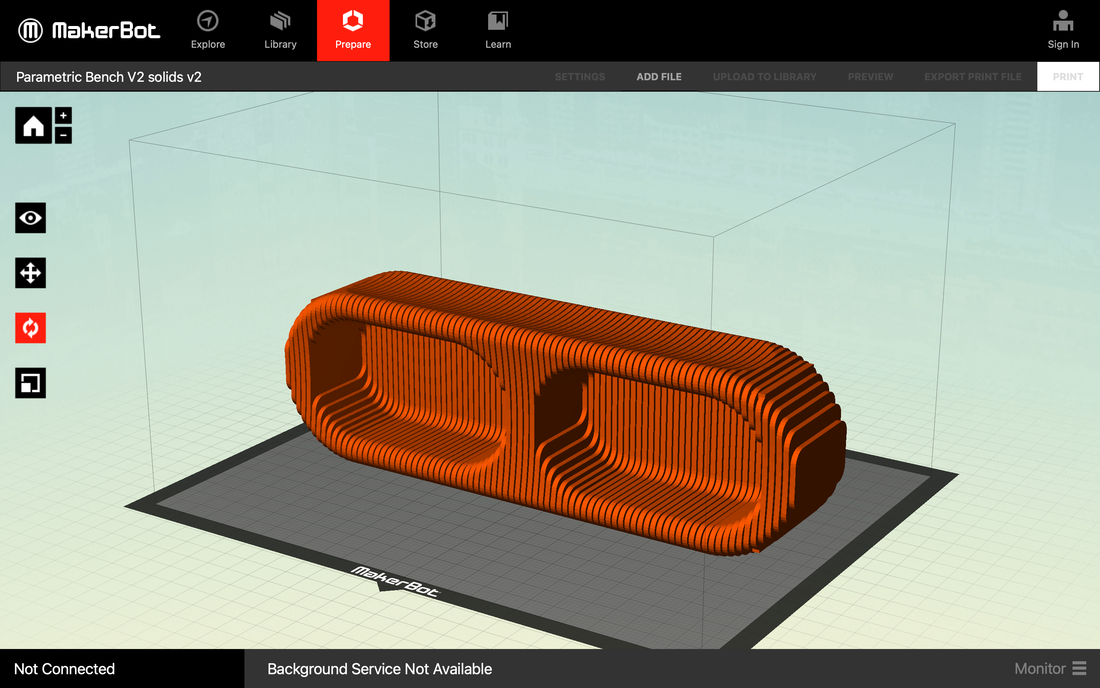
Bench prototype in MakerBot Desktop
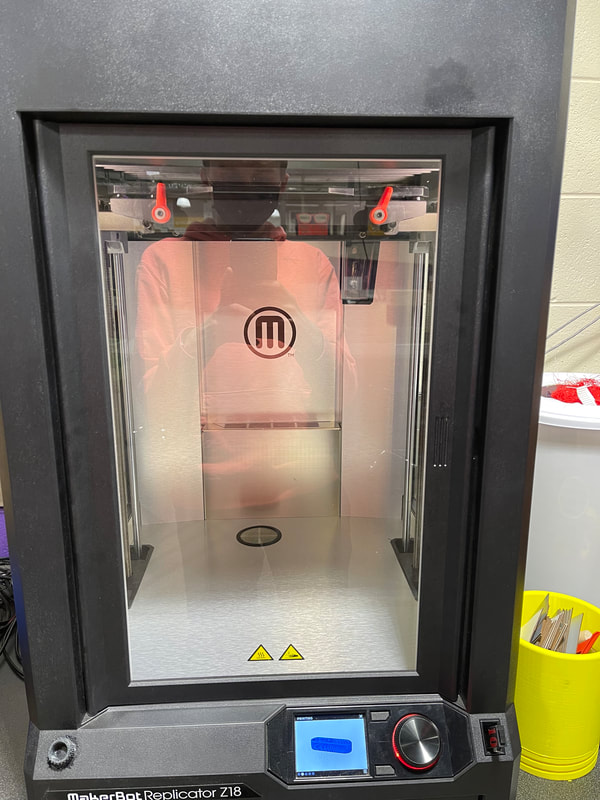
Bench prototype printing on the Z18 (although this was right at the beginning when there was only one layer)
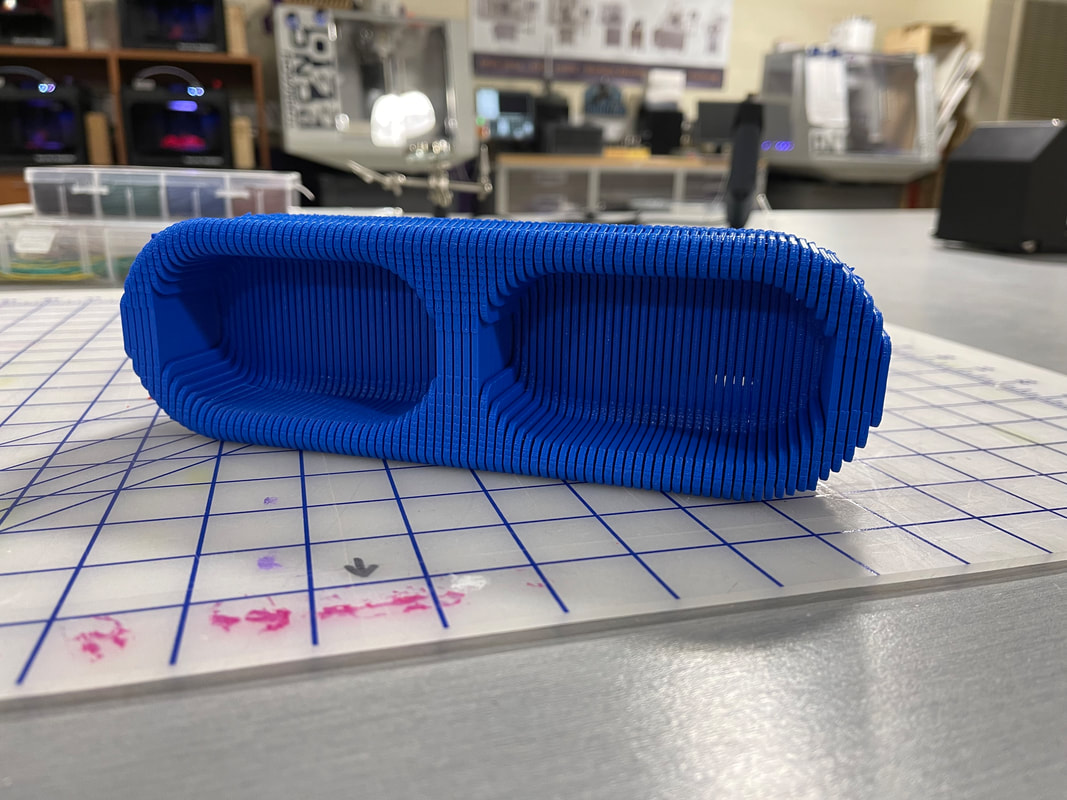
Final bench prototype
Conclusion
In this unit, I learned to utilize Fusion 360 at a much bigger scale, both literally and figuratively. First off, this was a big project, which was modeled to be 84 inches by 26 inches. Usually when I work on a project it is in fractions of an inch or millimeters. This presented a challenge but also some relief: I could be less precise with measurement and math, working with whole numbers instead of decimals or fractions, while still getting a good looking shape and design.
Second, this project had a massive number of components that needed to be dealt with. There are 85 total vertical 'ribs' as well as 7 'spines' to keep the whole structure rigid. Rather than making each rib separately, which is what I saw some of my peers doing, I made the design initially solid, splitting it into the 85 separate pieces at the end when I knew I liked the curves and profile. After that it was just some rounding to ensure there where no 90 degree angles or straight lines, and editing to make sure this bench could be made from flat stock.
Overall I am really happy with how my bench design turned out. I really wanted to stick to the requirement of having no 90 degree angles in the design, which I think I executed well. As for stability, time can only tell if the class picks my design, but I am confident it possesses enough structural strength thanks to the center support and the rib and spine building technique.
