Idea for my Individual 3D Printing project:
Based on the list of choices given to us in class, I chose to do the coin sorter. Originally, I wanted it to be sort of like a ramp so that the correct sized coins fall into the right holes, but I decided not to as I didn't think it would work. I wanted it to be small, but also be able to hold a good amount of each coin.
Research and Sketches
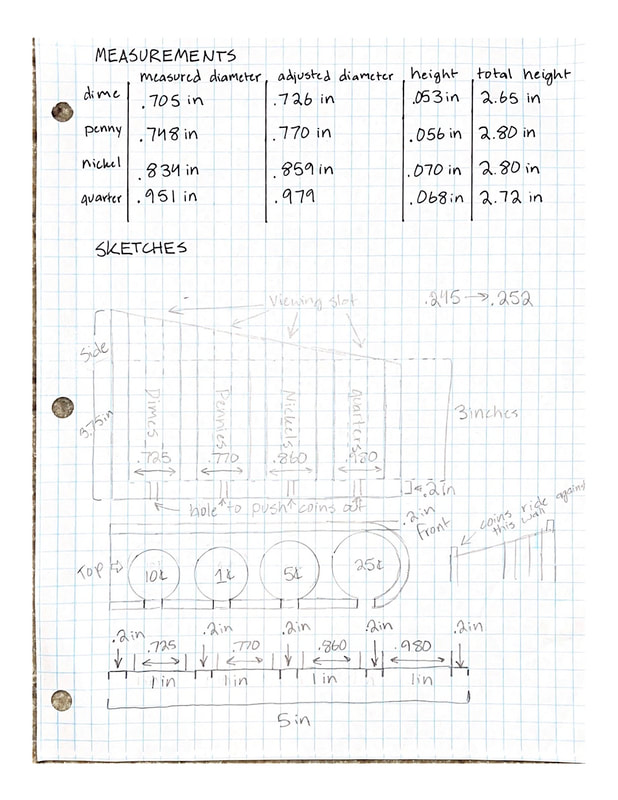
I began sketching out the basic form of my project on a sheet of grid paper and used a tool called a caliper to get very exact measurements of each coin. I then added 3% to each coin so that they would actually fit. On this sketch I was still leaning towards having the channel for the coins being slanted, which I scraped later on.
Modelling in Fusion360
For my project I had to use Fusion360 because inventor wouldn't work on my computer. I started by creating a body that was the basic size of what I wanted for the coin holder. I then cut away material for the coin channels and added some of the outer details like the rounded edges and the lip where the coins are put in. Finally I added details like the names of each coin. The slideshow below shows the process.
Exporting to MakerBot Desktop
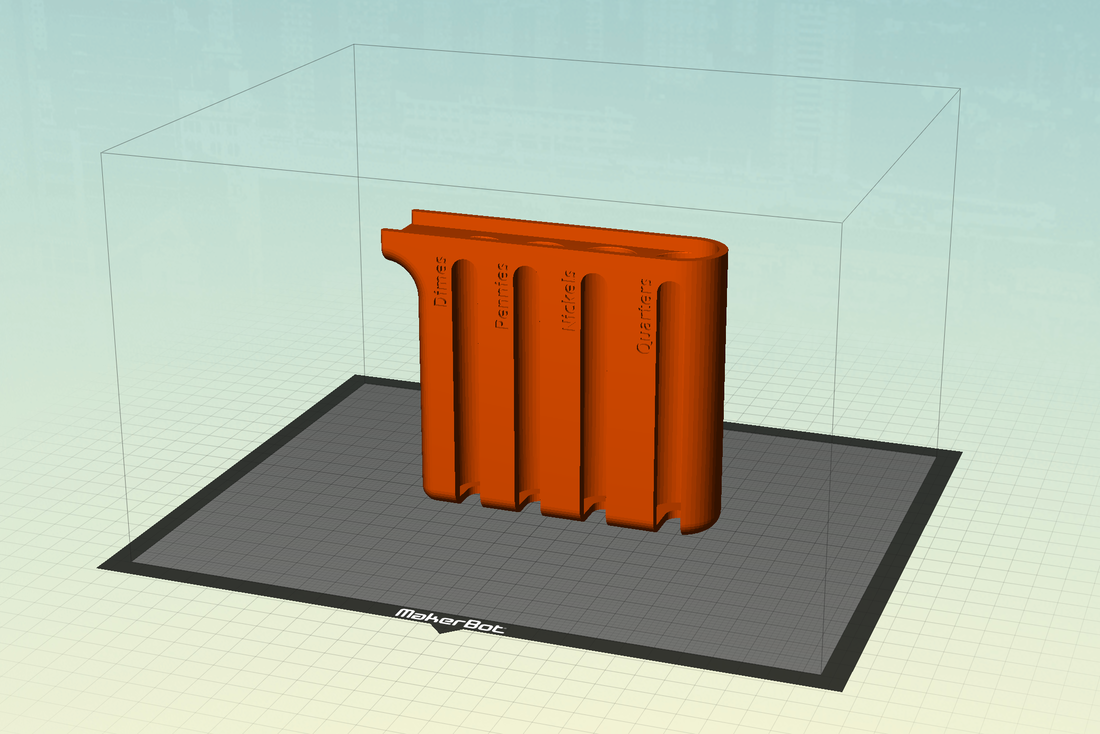
This is what my object looked like when I put it into MakerBot Desktop.
Final Product
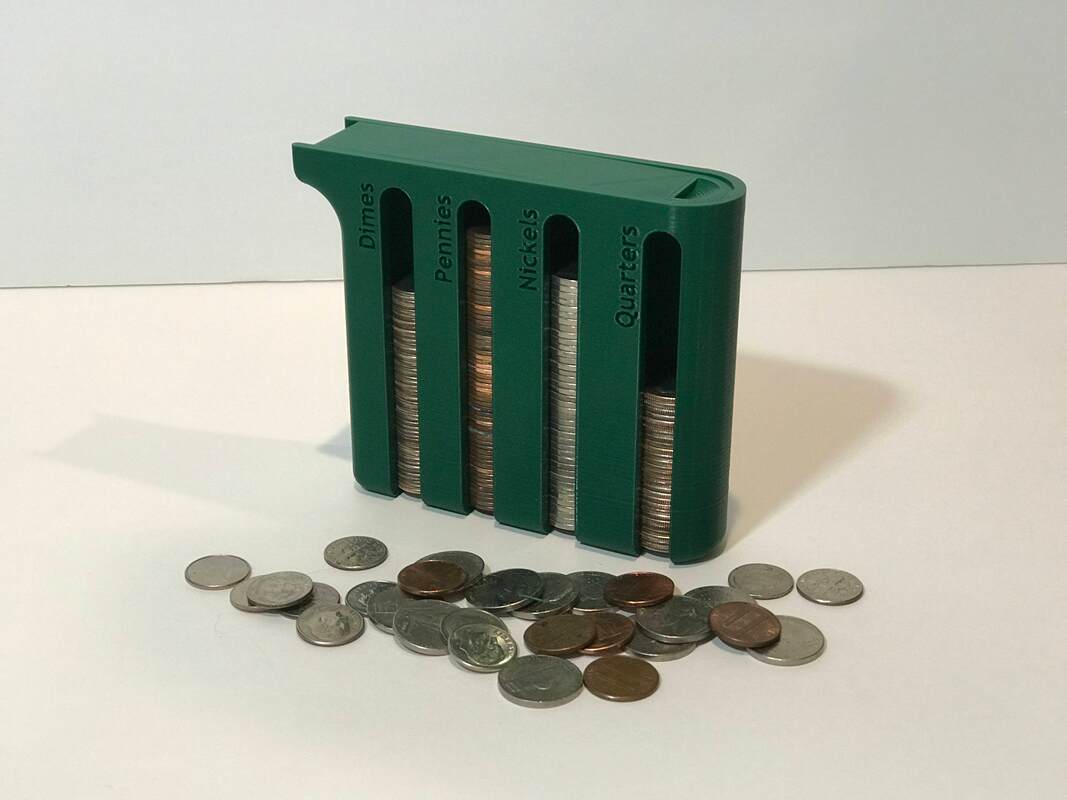
I am really happy with how this project worked out in the end. The print fits the coins perfectly and does not take up too much space.
By the end of this unit, I learned how to properly allow for tolerance when using a 3D printer, use a caliper to measure the exact measurements of something and how thorough research and measurements can lead to a better final product in the end.
By the end of this unit, I learned how to properly allow for tolerance when using a 3D printer, use a caliper to measure the exact measurements of something and how thorough research and measurements can lead to a better final product in the end.
